It is nearly Thanksgiving and this week I had some fun
creating a new/old centerpiece for the table!
creating a new/old centerpiece for the table!
I'm joining my fellow Thrifty Chicks for this month's re-use challenge...
A Seasonal Centerpiece from something thrifted!
A Seasonal Centerpiece from something thrifted!
I'll share links for the other blogger projects at the end of this post!
I started out with the thrifted wood cutting board in the first photo.
It's a nice size and I love the elongated handle.
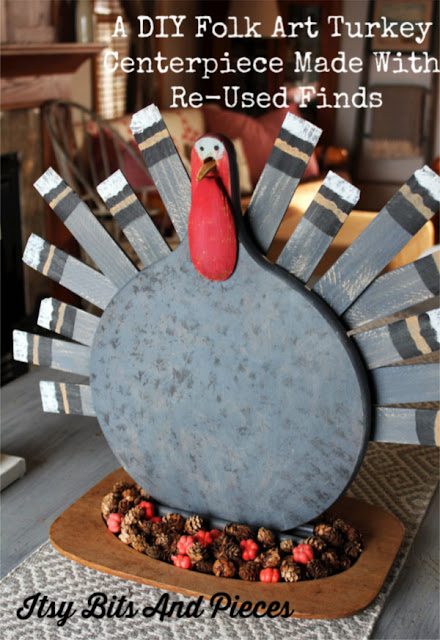
I decided to use it as the body of my centerpiece...a folk art turkey!
It's a nice size and I love the elongated handle.
I decided to use it as the body of my centerpiece...a folk art turkey!
I painted the board with a dark gray paint on the front and back, adding some rough brush strokes for some texture, as I went along.
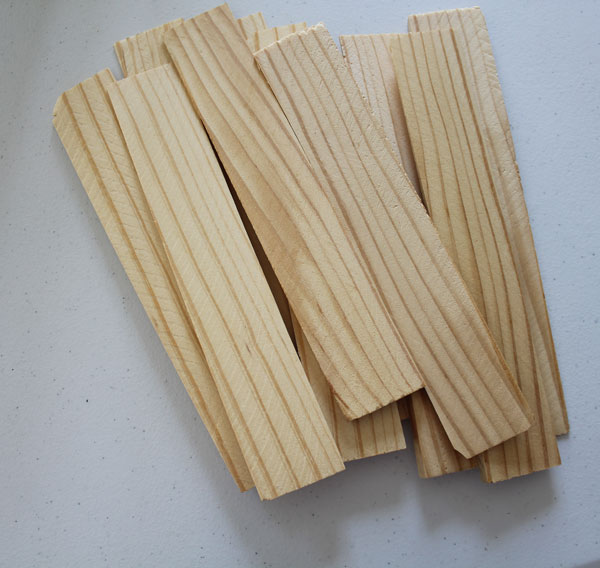
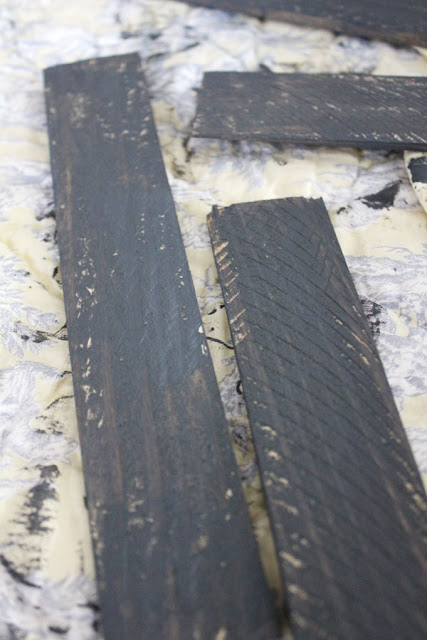
Next I painted a bunch of wood shims. I even found a pack of them at the thrift store! They are rough and perfect for feathers.
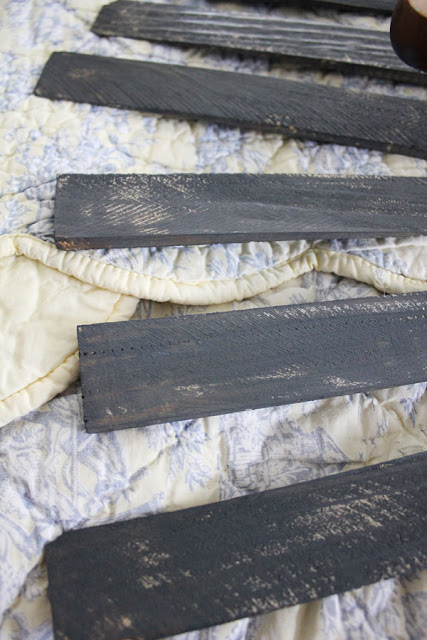
I painted them lightly with the same dark gray,
allowing some wood grain to show through.
allowing some wood grain to show through.
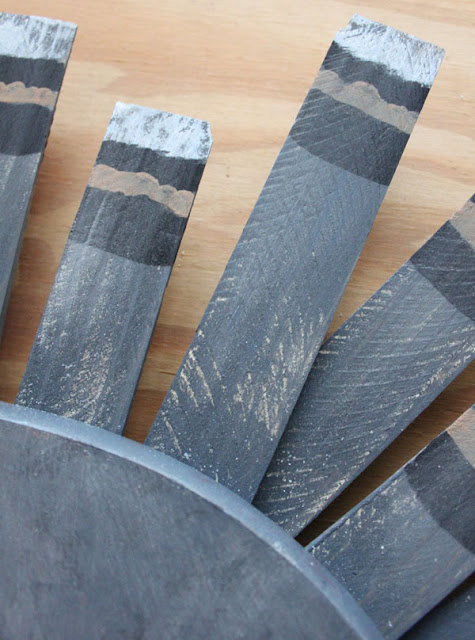
Then I painted each "feather" with colors similar to a real turkey.
I just looked for a photo on Google images to give me a guide.
This is to be a primitive, folk art piece, so I wasn't worried about perfection.
And I lightly sanded when I was done, as I wanted a more subtle paint job.
I just looked for a photo on Google images to give me a guide.
This is to be a primitive, folk art piece, so I wasn't worried about perfection.
And I lightly sanded when I was done, as I wanted a more subtle paint job.
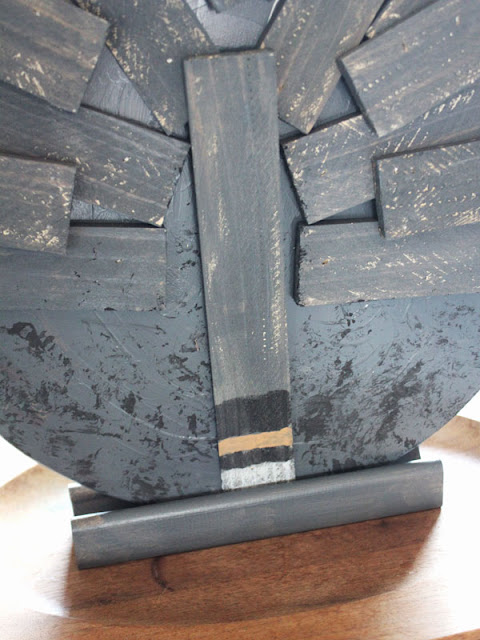
I used a nailer gun and attached a basic feather shape
to the backside of the board.
Then I added other feathers in layers with the nailer.
I used 14 feathers on the body, and one additional, for another part of the project.
I used 14 feathers on the body, and one additional, for another part of the project.
Next I created the turkey face. I painted the head red, with a blue green color around the eyes. The eyes were simple black dots. The next pieces were created using leftovers from a past Thrifty Chicks' challenge...wooden utensils.
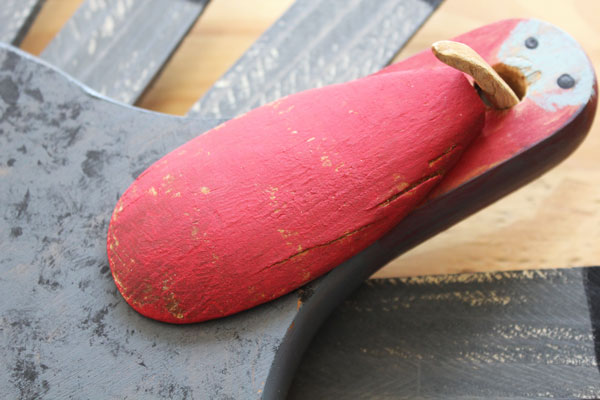
This spoon was painted red and glued onto the board for a wattle.
And the prongs were cut off of this fork for a beak.
Good thing there were two, as I split one trying to nail it on!
I ended up gluing the beak, too.
Good thing there were two, as I split one trying to nail it on!
I ended up gluing the beak, too.
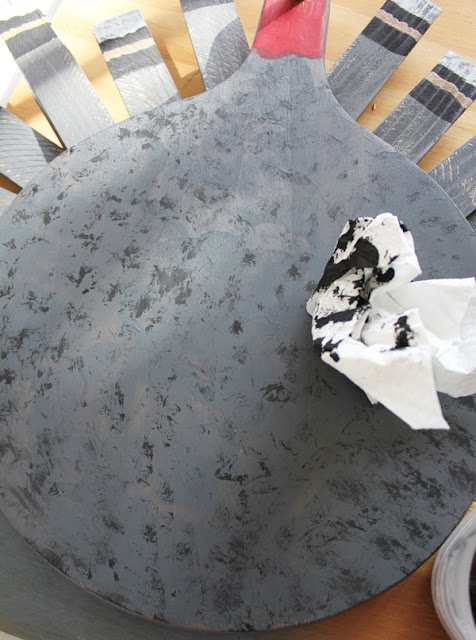
I felt like the body paint needed some depth, so I crumpled a paper towel
and lightly dabbed the board with some black paint..the towel was nearly dry and I used a light hand. When it was dry, I did a little sanding.
and lightly dabbed the board with some black paint..the towel was nearly dry and I used a light hand. When it was dry, I did a little sanding.
To serve as a centerpiece, the piece needed a stand.
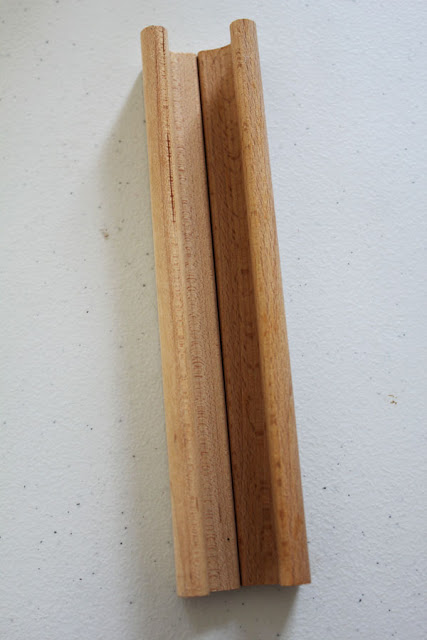
I took a couple of wood scrabble trays, painted them,
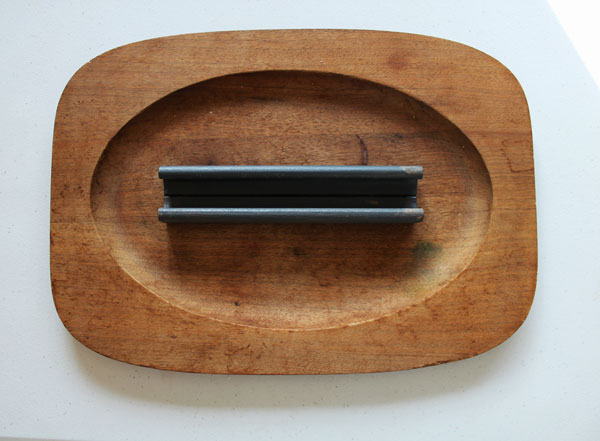
and glued and nailed them to another thrifted wood platter.
I took a couple of wood scrabble trays, painted them,
and glued and nailed them to another thrifted wood platter.
I turned the racks with the rounded parts up.
You can see how they form a channel to hold the board.
You can see how they form a channel to hold the board.
The board sits right inside it.
To keep it secure, I used one feather as a true shim.
It made it very sturdy, with a tight fit...and allows for easy removal when I want to disassemble for storage.
It also fills in the empty space between boards.
I love how this piece turned out! You could decorate it so many ways!
I like using these miniature pumpkins and pine cones on the tray.
But evergreens or flowers would be pretty, too!
Here is the back...
And the front...
I think it would be fun on a buffet table!
Please pin me!
Be sure to visit the other fun blog posts!
4.Lora B. Create And Ponder
Repurposed Tool Caddy Centerpiece For Thanksgiving
and one more you won't want to miss...
5.Little Vintage Cottage
Repurposed Sugar Tin Centerpiece
Clockwise...
1.That's me!
2.Color Me Thrifty
DIY Christmas Centerpiece With Snooker Balls
3.Audrey Would! Vintage
4.Lora B. Create And Ponder
Repurposed Tool Caddy Centerpiece For Thanksgiving
and one more you won't want to miss...
5.Little Vintage Cottage
Repurposed Sugar Tin Centerpiece













Linda, I love that turkey. Once again you have just knocked my socks off. LOL Your head must be spinning with ideas all the time. :) I like how you displayed the turkey between the candles. Blessings, xoxo, Susie
ReplyDeleteOMG, he's adorable! I love how you used the wooden spoon and fork!
ReplyDeleteHow clever! It turned out really nice.
ReplyDeleteOh my gosh Linda! SO CUTE!! I love this guy, and I'm totally blown away, once again, by your incredible creativity. What fun!!
ReplyDeletewhat an imagination! I definitely want to do one of these next year, he's just plain adorable!
ReplyDeleteThank you, Pam! It was so fun to make, and goes together pretty quickly!
DeleteYou are so clever, Linda. I love your turkey centerpiece. xo Laura
ReplyDeleteLinda,
ReplyDeleteYou're so smart and see things I don't believe I ever would. Your painting technique is perfect. You brought this turkey to life. Bravo
Cindy
Your turkey centerpiece is totally adorable Linda! I love everything about him.
ReplyDeleteWow, Linda, I would never have come up with this brilliant repurpose! He's adorable; I love his folk-art vibe. You used the most humble pieces and put them together so artistically. Pinned on a couple boards!
ReplyDeleteSuper cute!
ReplyDeleteLinda, that is so clever, creative and just darn cute! Gobble gobble gobble!
ReplyDeleteSmiles, Alice
Thank you, Alice! I know he'll be part of the family lol!
DeleteShut up!!! That's the cutest thing I've ever seen!
ReplyDeleteTania
Hi Linda,
ReplyDeleteThis is so clever and fun. I love your vision and how you make these things all come together.
Very cute. Happy Thursday.
Hugs,
Kris
Ridiculously adorable and creative!! And I love seeing turkeys this time of year instead of trees!! Thank you!!!
ReplyDeleteYou outdid yourself here, Linda. So fun and clever.
ReplyDeleteAmalia
xo
You are seriously a creative genius!!!! I love this, amazing how you saw a cutting board and in your head you saw a turkey!!
ReplyDeleteThat's the cutest thing ever! 😊
ReplyDeleteThanks so much, Cheryl!
Delete